Most homeowners think renovation is simple. Pick pretty stuff, knock down walls, slap it together. Then they wonder why the job runs double the time and budget.
There's a reason crews follow a strict sequence. Do things out of order and you end up ripping out finished work. In old Cleveland houses, that mistake costs real money.
The right order protects the "bones" first, then builds up. Skimp on early steps and the pretty finishes fail fast.
Why Sequence Matters in Old Houses
Cleveland's 1940s-1970s stock has surprises. Settled foundations, tired plumbing, knob-and-tube wiring. You don't know the full story until walls are open. Rushing the order turns small issues into expensive disasters.
I watched homeowners push for fast finishes. Crews installed tile before plumbing tests passed. Leak later? Rip it all out. Learned the hard way on my own 25-year project. One rushed bathroom cost me extra weekends.

The Real Order of Operations
Here's the sequence my crews followed on hundreds of jobs. Stick close to it.
1. Planning and Permitting (Before Anything Moves)
Measure twice. Get plans drawn if layout changes. Pull permits early. In Cleveland, inspections matter for electrical, plumbing, and structural.
Lock your finishes as much as possible here. Changing mid-job kills momentum.
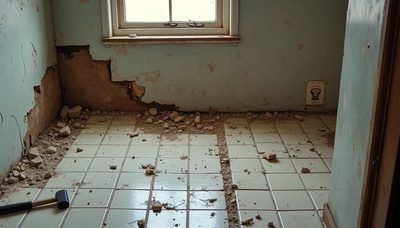
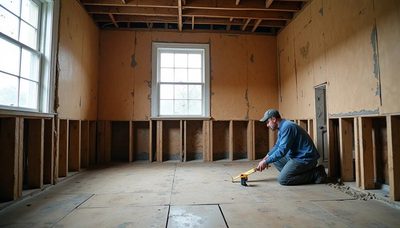
2. Demolition and Protection
Gut what needs gutting. Protect the rest of the house with plastic, zip walls, and floor coverings. Remove debris daily or it becomes a nightmare.
In old houses, demo often reveals the real problems. Document everything with photos.
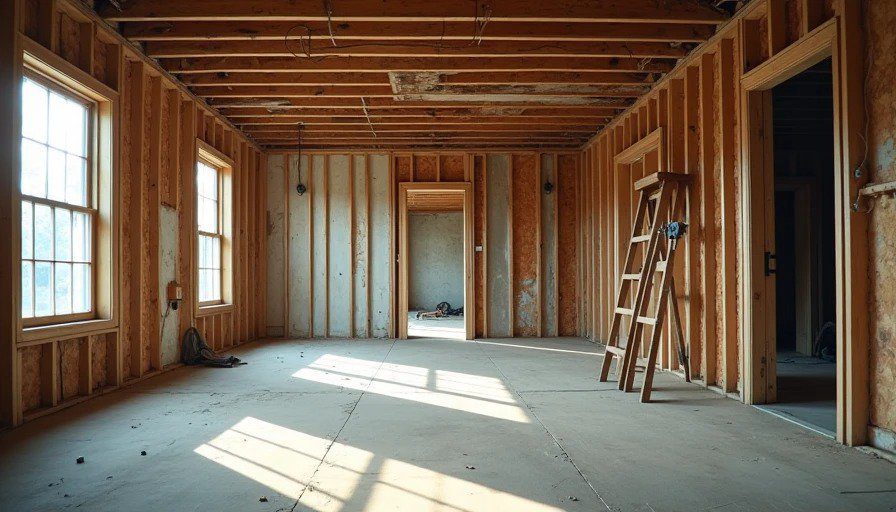
3. Rough Carpentry and Structural Fixes
Sister joists, reinforce beams, fix framing. Address any load-bearing issues now. This is the foundation of the job.
Skip this and your new cabinets sit crooked or floors sag.
4. Rough-Ins: Plumbing, Electrical, HVAC
This is the most important hidden phase. Run all new pipes, wires, ducts, vents. Make sure everything is in the right place before closing walls.
Test lines under pressure. Schedule inspections. In Cleveland winters, frozen pipes teach hard lessons about proper insulation.
Common rough-in mistakes:
Running plumbing before electrical (crosses happen).
Forgetting blocking for future grab bars or cabinets.
Poor planning for vent stacks and drains.
5. Insulation, Vapor Barriers, and Air Sealing
Especially critical in old uninsulated walls. Do this right and your energy bills drop. Do it wrong and you get condensation and mold.
6. Drywall, Taping, and Priming
Hang, tape, sand. Multiple coats. This is when the space starts looking like a room again.
7. Interior Finishes and Trim
Painting, installing cabinets, countertops, flooring (in the right sequence), tile.
Tile floors usually go before cabinets. Countertops after cabinets.
8. Fixtures, Appliances, and Punch List
Toilets, sinks, lights, switches. Final connections. Then the never-ending punch list.
9. Final Inspections and Cleanup
Get sign-offs. Professional clean. Walkthrough with homeowner.
What Happens When You Screw the Order
I saw it plenty. Homeowner wants tile early for "motivation." Crew installs it, then needs to cut for plumbing adjustments. Wasted time and material.
Another classic: Painting before electrical. Fixtures go up and you touch up or repaint.
In old houses, doing finishes before addressing moisture issues leads to callbacks. Damp basement? Your new drywall molds in year one.
Quick Sequence Table for Typical Kitchen/Bath
Phase | Key Tasks | Why This Order |
|---|---|---|
Pre-Construction | Plans, permits, material orders | Avoid delays |
Demo | Gut, protect, document | Reveal issues |
Rough Carpentry | Framing repairs | Structural safety |
Rough-Ins | Plumbing, electric, HVAC | Hidden work first |
Insulation | Walls, ceilings | Efficiency |
Drywall & Paint Prep | Hang, tape, prime | Enclose systems |
Finishes | Cabinets, floors, tile, trim | Build on solid base |
Fixtures & Final | Install, test, punch list | Complete job |
Follow something like this. Adjust for your scope.

Trade Coordination Traps
Plumbers and electricians need to talk. Good GCs make it happen. Bad ones let them fight over space in the walls.
Schedule inspections at the right time. Failed rough-in inspection? Everything stops.
In Cleveland, weather affects exterior work. Sequence interior first if possible.
Lessons from the Job Site
On my crews, we walked every phase with checklists. Missed a vent pipe once. Had to open a finished ceiling. Expensive lesson.
My own house? I did rooms piecemeal without full sequence. One fix always led to another. Took forever.
Homeowners who trust the process and don't micromanage the order get better results. Push too hard and quality drops.
Protecting Your Project
Ask your contractor upfront: "What's your planned sequence and why?" Good ones explain it clearly.
Visit the site at key milestones—end of rough-ins especially. Take your own photos.
Build buffer time into the schedule. Old houses don't cooperate with tight timelines.
Renovation isn't about speed. It's about doing things once, right. The right order keeps surprises manageable and money in your pocket.
Most homeowners don't know this sequence. Now you do. Use it when you talk to bids and crews.
Next I'll cover specific job site red flags and what good work really looks like.
Of course, I've screwed up plenty of jobs too. That's why I'm telling you this.
No signatures yet — be the first!